Hi, like many others on here, I have been pulling their hair out trying to figure out how to configure everything on their Pi’s to do the very basic that these cameras we purchased should do (ie take 64mp photos and use the autofocus).
The support has not been great and keeps pointing to outdated tutorials or endless threads of trouble shooting.
So here is a complete list of all the actions i did starting from a fresh Raspberry Pi 4 installation to having a system that can actually take photos. There’s still several problems: photos take like 16 seconds to take (not quite the specs they list of 2.7fps), and for some reason when the pi runs the resolution is always 640x480 (which is annoying). but hey it works! (As of March 9, 2023 until something breaks on the arducam side or the raspberry pi side)
A) Get a Fresh Configured Pi
Download and Install Raspberry Pi Imager
Put in SD card, format it.
use the imager to install latest Raspberry Pi OS 32Bit
ssh into your RPi and go to
sudo raspi-config
We are doing a “headless configuration”
go to “interfacing options”
- enable VNC
- enable legacy camera
Finish and restart the Pi
B) Edit boot/config.txt
SSH back into the Pi
sudo nano /boot/config.txt
in the file that opens we need to change a couple things
UPDATE - to make it work better with headless configuration
and change the line that looks like
dtoverlay=vc4-kms-v3d
to instead say
dtoverlay=vc4-kms-v3d,cma-512
(Before I had two steps where you would uncomment the line
hdmi_force_hotplug=1
in order to make the headless configuration work. It’s true you need to do this if that’s all you change in the boot/config, because the legacy camera interferes with the VNC for some reason. BUT i found that doing this forces the VNC resolution to be 640x480 when you enable the next line. and it turns out if you just enable the next line, everything works fine! So just ignore the part about HDMI-force-hotplug. Just leave it commented out!)
save the file
shutdown the pi.
physically UNPLUG the pi
C) Installing all the camera software
Now you should be able to VNC into your raspberry pi
enter the command
cat /proc/meminfo
and your CmaTotal: should say something like 524288 kB (if not, double check your /boot/config.txt was saved correctly and restart)
now let’s get all the stuff needed installed to actually run these cameras. Note that I put SUDO in front of all these commands because for whatever reason when i didn’t i couldn’t get everything working. this is maybe unnecessary.
Step 1. Download the bash scripts
sudo wget -O install_pivariety_pkgs.sh https://github.com/ArduCAM/Arducam-Pivariety-V4L2-Driver/releases/download/install_script/install_pivariety_pkgs.sh
sudo chmod +x install_pivariety_pkgs.sh
Step 2. Install libcamera
sudo ./install_pivariety_pkgs.sh -p libcamera_dev
Step 3. Install libcamera-apps
sudo ./install_pivariety_pkgs.sh -p libcamera_apps
Step 4. Install Camera drivers
sudo ./install_pivariety_pkgs.sh -p 64mp_pi_hawk_eye_kernel_driver
(at this point everything is installed to be able to use libcamera on the command line, but we are going to install all the picamera2 stuff too)
Step 5 Installing Picamera2 dependencies
sudo apt install -y python3-kms++
sudo apt install -y python3-pyqt5 python3-prctl libatlas-base-dev ffmpeg python3-pip
sudo pip3 install numpy --upgrade
sudo pip3 install picamera2 --upgrade
Shut down the RPI and physically unplug it, and then start it back up again
D) Test the Cameras
you can run a couple quick tests to make sure everything is in order
dpkg -l | grep libcamera
should be v 0.12 at least
starting nice and simple this should preview an image for you
libcamera-still -t 5000
This should save an image for you
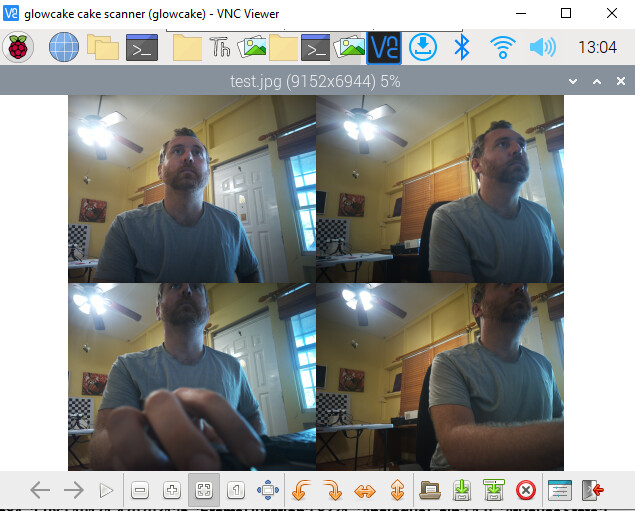
libcamera-still -t 5000 -n -o test.jpg
and this should save a 64mp image for you (note it takes my pi 16 seconds to do this)
libcamera-still -t 5000 -n -o test64mp.jpg --width 9152 --height 6944
and you should have a full resolution 64mp image! (in theory, this isn’t just upscaled from 16mp RIGHT?)
So that all proved we can actually save images. but now let’s make sure the focusing is working
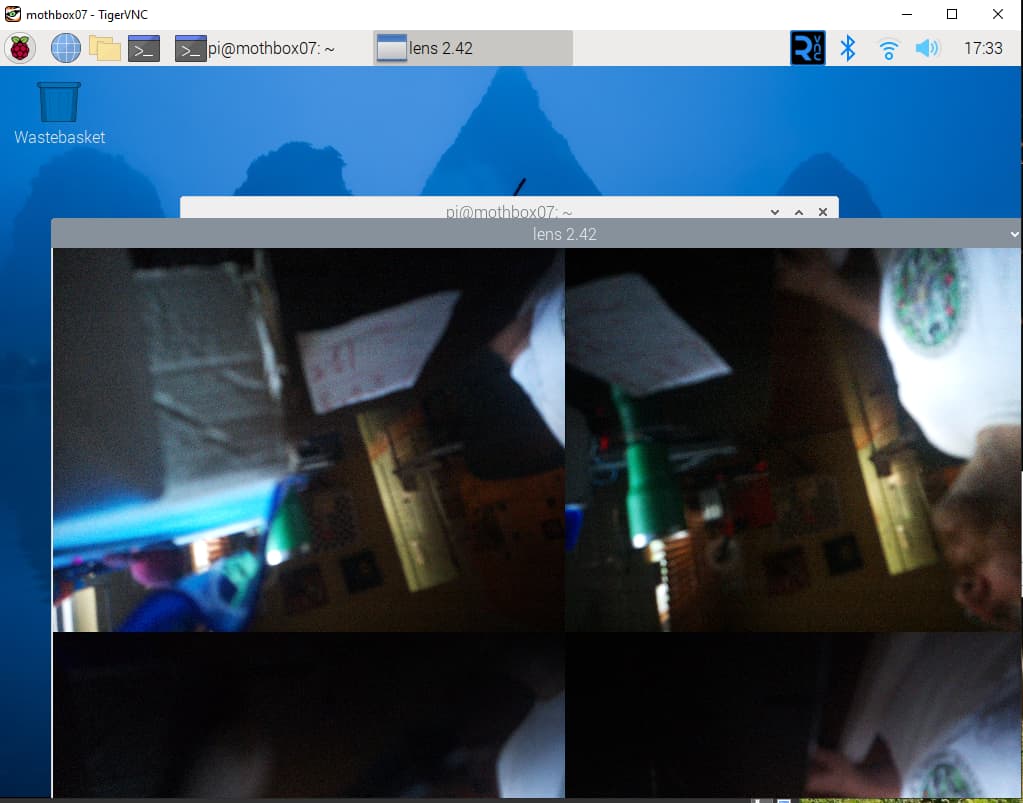
this should do continuous autofocusing (note that the focus is calculated from the pixels in the middle. on a Quad cam setup this makes for a very confusing autofocus.
libcamera-still -t 0 --autofocus-mode continuous
this command will let you specific a specific manual focus (range is 0-15ish)
libcamera-still -t 0 --lens-position 7
more libcamera command line examples here:
https://docs.arducam.com/Raspberry-Pi-Camera/Native-camera/Libcamera-User-Guide/#for-arducam-16mp64mp-autofocus-camera
E) Try out picamera2 python scripts
create files with these scripts (you can use the built-in editor, Thonny)
This file should focus nearby, and then focus slightly further out after 5 seconds.
#!/usr/bin/python3
# To run this example, update libcamera-dev to version 0.0.12.

import time
from picamera2 import Picamera2, Preview

picam2 = Picamera2()
picam2.start_preview(Preview.QTGL)
preview_config = picam2.create_preview_configuration()
picam2.configure(preview_config)

picam2.start()
time.sleep(1)

# AfMode: Set the AF mode (manual, auto, continuous)
# LensPosition: Manual focus, Set the lens position.

picam2.set_controls({"AfMode": 0, "LensPosition": 10}) #focus nearby - like 10 cm
time.sleep(5)
picam2.set_controls({"AfMode": 0, "LensPosition": 6}) #focus a meter or so away from lens
time.sleep(5)
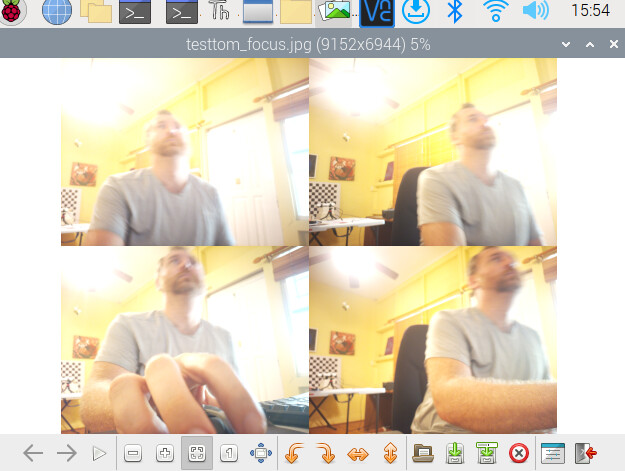
and here’s a quick script to autofocus and then take an image in python
. For some reason the image is always very washed out when i use autofocus in python in this script
from picamera2 import Picamera2, Preview
import time
picam2 = Picamera2()
camera_config = picam2.create_still_configuration(main={"size": (9152, 6944)})
picam2.configure(camera_config)
picam2.start_preview(Preview.QTGL)
picam2.start()
picam2.set_controls({"AfMode": 2})
time.sleep(8)
picam2.capture_file("test_Auto_Tom.jpg")